PoE2 Atziri Boss Guide: Fight Mechanics, Prep Checklist, and Temple Route Fit
Use this guide for the final go/no-go decision: not just whether your Temple reaches Atziri, but whether your build and reward plan make the boss attempt worth taking.
Prepared by
PoE2 Temple Planner Editorial
Temple planning and route strategy team
We maintain PoE2 Temple Planner resources for players comparing room routes, reward chains, and boss-ready layouts before running Incursions.
Media note
The visuals on this page are editorial illustrations generated for explanation. They are not official images, gameplay screenshots, or UI captures.
In this guide
How to use this page
Start with the fast-answer table, then compare your current Temple route in the planner. If your route is connected but your build cannot survive repeated boss mistakes, treat Atziri as optional and protect your better reward rooms instead.
Fast answer: when should you attempt Atziri in PoE2?
Attempt Atziri when the Temple route, fight readiness, and reward fallback all agree. A connected route is only the first check; the boss attempt still has to fit your character and your run goal.
| Check | Good sign | Delay the attempt when |
|---|---|---|
| Route access | The path to the boss is clean, connected, and already verified in the planner. | The path is technically open but forces too many low-value detours or fragile branches. |
| Fight control | Your build can move, recover, and avoid repeating the same arena mistake. | You rely on one burst window and have no plan when the fight lasts longer. |
| Defensive setup | Flasks, ailment handling, recovery, and resistance coverage match the fight pressure. | Your mapping setup is fast but has no room for boss-specific defense. |
| Reward fallback | You still keep one or two valuable rooms if the boss attempt fails or feels risky. | The route sacrifices every useful room just to say the boss node is reachable. |
Atziri route planning is not the same as Atziri fight planning
A Temple route guide answers whether you can reach Atziri. A boss guide answers whether you should spend the attempt. That distinction matters because many failed runs start from a route that looks correct on the grid but ignores the character that has to fight at the end.
Use the existing Atziri route guide when you need pathing, room pressure, and planner verification. Use this page when you are already close to the boss and need to decide whether the arena risk, flask setup, and fallback rewards make sense.
- Keep the boss path short enough that you can explain it in one sentence.
- Do not delete every reward room just to force boss access.
- Treat boss readiness as a separate checklist from room value.
- If the planner route is unclear, fix the route before judging the fight.
Important boundary
This is an editorial planning guide. PoE2 balance and Temple details can change, so use the planner and in-game information as the final source for your current patch.
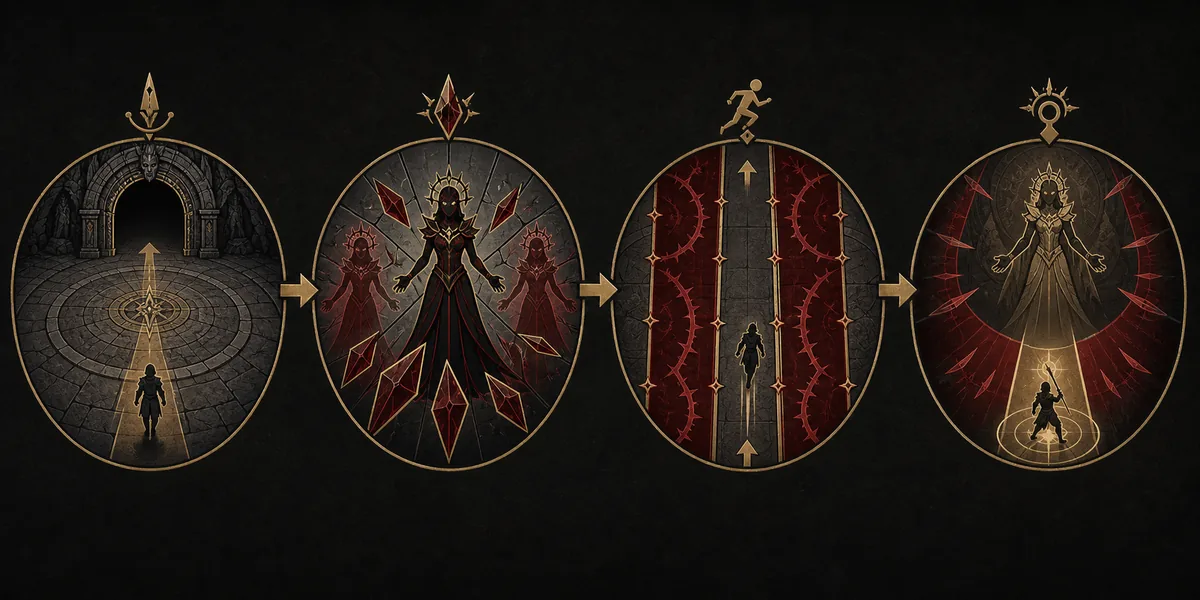
Fight mechanics to respect before you enter
The safest way to think about Atziri is not a single damage check. It is a sequence of control checks: can you recognize the dangerous pattern, move without panic, recover after a mistake, and keep enough damage uptime to avoid a messy finish?
| Mechanic pressure | What it tests | Planning response |
|---|---|---|
| Arena positioning | Whether you leave yourself an escape lane instead of fighting from a corner. | Enter with a movement skill or movement habit that does not require perfect reaction time. |
| Burst windows | Whether your build can deal damage without standing still too long. | Favor controlled damage uptime over one all-in window. |
| Recovery gaps | Whether one hit turns into two more mistakes. | Check flask charges, life or energy shield recovery, and panic buttons before committing. |
| Visual overload | Whether you can read the arena while loot, effects, and room modifiers compete for attention. | Lower unnecessary visual clutter and avoid running the fight tired or distracted. |
If any row in the table feels like a guess, the safer play is to keep the route but lower the stakes. Practice the layout, preserve stronger reward rooms, and come back when your build has more defensive margin.
Build and flask readiness checklist
A mapping setup can feel smooth and still be poorly prepared for Atziri. Boss attempts punish the gaps that maps often hide: low recovery after a burst, weak ailment handling, movement that depends on open space, or damage that collapses when you have to dodge.
- Check your defensive layers before damage numbers. If you cannot survive a mistake, more damage only makes the good attempts faster.
- Confirm your flask setup is built for a boss room, not only for fast mapping.
- Make sure your movement plan works in a constrained arena.
- Keep one simple rule for stopping the attempt, such as leaving if the first recovery cycle already feels unstable.
Practical rule
If the only reason to continue is sunk cost, stop and preserve the next Temple plan. A failed boss attempt is acceptable; repeating the same unprepared attempt is the expensive part.
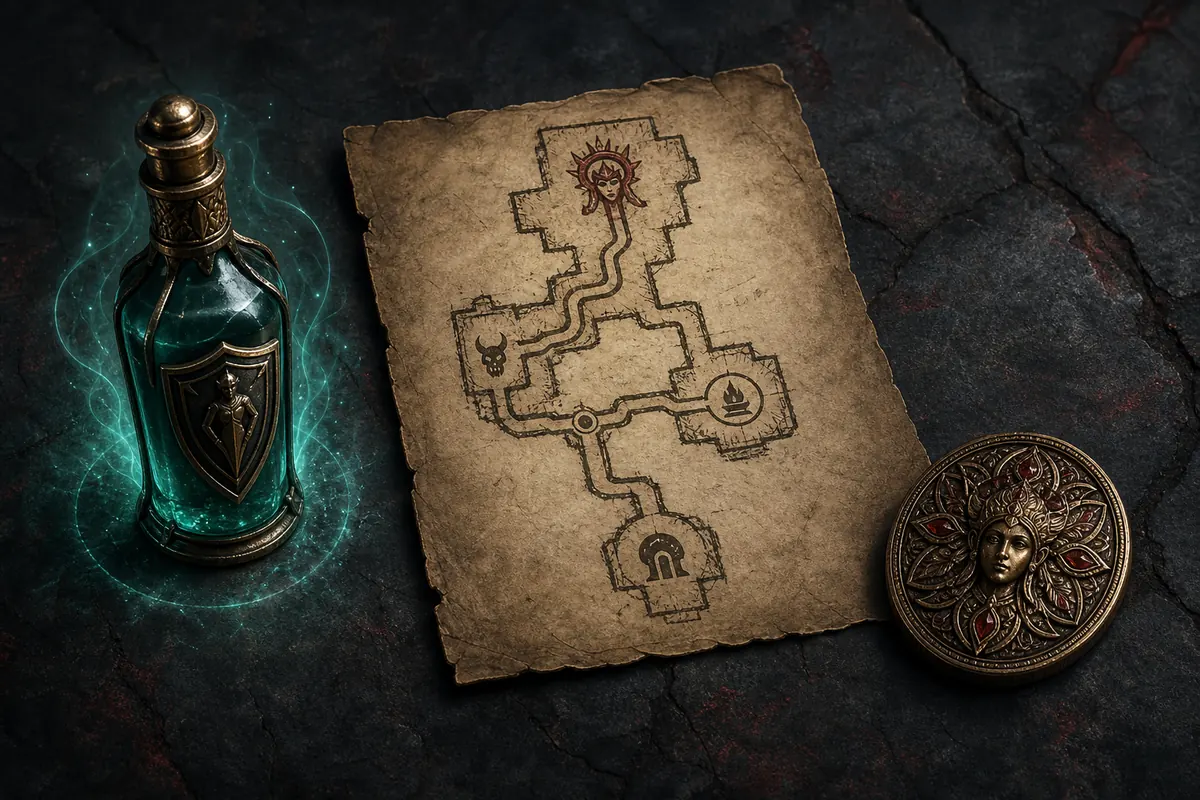
Route and reward fallback checks
The best Atziri plans do not treat the boss as the only value in the Temple. They keep a fallback: a corruption room, a currency chain, a useful upgrade room, or a cleaner layout you can still run if the fight looks wrong.
| Temple state | Best action | Why |
|---|---|---|
| Great boss route, weak rewards | Attempt only if your build is clearly ready. | The run has little backup value if the fight fails. |
| Average boss route, strong rewards | Prioritize rewards unless the fight is low risk. | Good reward rooms are guaranteed value compared with a shaky boss attempt. |
| Messy route, strong build | Fix the route first in the planner. | A strong build still loses time when the path itself is bad. |
| Clean route, nervous build | Delay or downgrade the attempt. | The correct layout does not compensate for missing defensive margin. |
Plan the route first
Use the route-focused Atziri guide when the question is how to reach the boss cleanly.
Compare reward rooms
Use the rewards guide when the boss route competes with currency, corruption, or upgrade rooms.
Check room connections
Use the cheat sheet to verify connections and upgrade chains before committing.
Common mistakes that make Atziri attempts feel worse than they are
Most Atziri planning mistakes are not dramatic. They are small mismatches between the goal of the run and the state of the character. Fix those mismatches and the fight becomes easier to evaluate.
- Mistake 1: treating a connected boss node as a complete plan.
- Mistake 2: using a mapper flask setup in a boss room.
- Mistake 3: sacrificing every fallback room for a fight you are not sure you can finish.
- Mistake 4: changing the route after seeing a showcase layout without testing it in your own planner state.
- Mistake 5: ignoring fatigue. Boss reads are worse when you are rushing the final room.
The fix is simple: separate the route decision from the fight decision. First prove that the Temple path works. Then prove that your build can handle the arena. Only then decide whether the expected reward is worth the risk.
PoE2 Atziri boss FAQ
Useful references
Use these resources to cross-check current mechanics, patch context, and site-specific route planning.
- Path of Exile 2 official site - Official game and patch context.
- PoE2 Temple Planner - Use the planner to test your route and fallback rooms.
- What Is Atziri's Temple in PoE2? - Beginner explanation of the Temple, rooms, Medallions, and rewards.
About this guide
PoE2 Temple Planner Editorial
This guide was written for players who already understand the Temple route basics and need a practical boss-attempt checklist before committing an Atziri run.
Test the route before you fight
Open the planner, verify the boss path, then compare your reward fallback before you commit the Temple.