PoE2 사원 보상 가이드: 정말 노릴 만한 방은 무엇인가?
좋은 보상 계획은 눈에 띄는 방을 모두 고르는 것이 아닙니다. 목표를 정하고, 핵심 보상 방을 연결하며, 그 목표를 강화하는 지원 방만 선택해야 합니다.
작성
Elena Marlowe
ARPG editor and systems writer at PoE2 Temple Planner
Elena writes practical Temple planning articles focused on room-chain clarity, reward priority, and patch-aware routing.
편집 기준
GSC shows broad Atziri Temple and planner intent already ranking on protected homepage and guide URLs, while Similarweb surfaces low-difficulty Temple queries with reward and room-choice overlap. This page targets reward-priority decisions instead of duplicating the planner, full guide, layouts, medallions, or loot-filter pages.
이 페이지
기회와 검색 의도
GSC shows broad Atziri Temple and planner intent already ranking on protected homepage and guide URLs, while Similarweb surfaces low-difficulty Temple queries with reward and room-choice overlap. This page targets reward-priority decisions instead of duplicating the planner, full guide, layouts, medallions, or loot-filter pages.
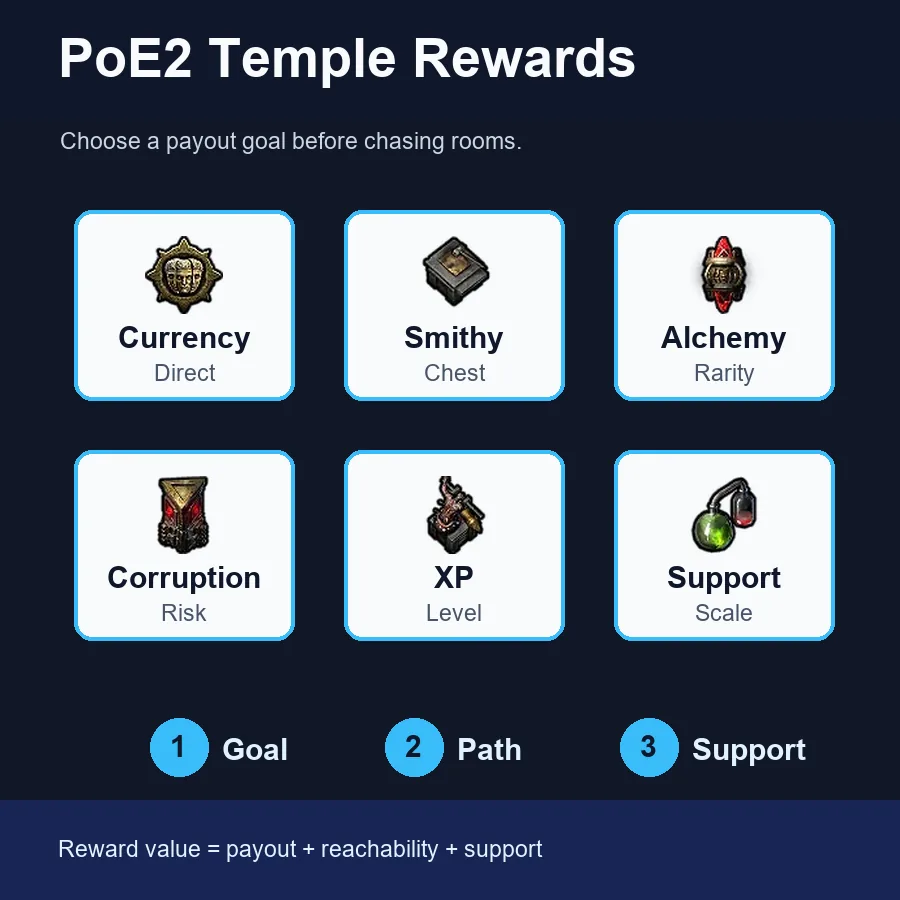
빠른 우선순위: 희귀도가 아니라 목표로 보상을 고르기
PoE2 사원을 보상 목적으로 짤 때는 원하는 보상부터 정해야 합니다. 커런시와 거래 가치는 보통 Smithy, Alchemy Lab, Reward Room, Spymaster, Thaumaturge, 연결된 상자 경로를 선호합니다. XP는 Synthflesh Lab, Garrison, Workshop, 몬스터 밀도가 중요합니다. 타락이나 보스 목표는 더 좁고 보호된 체인이 필요합니다.
| 목표 | 좋은 방 | 피할 실수 |
|---|---|---|
| Currency and trade value | Smithy, Alchemy Lab, Reward Room, Spymaster, Thaumaturge | Chasing a specialist room that cannot be reached or upgraded |
| XP and leveling | Synthflesh Lab, Garrison, Workshop, Generator | Ignoring monster flow while saving only chest rooms |
| Corruption value | Corruption Chamber, Sacrificial Chamber, Thaumaturge | Mixing corruption rooms into a layout with no support chain |
| Boss or Architect push | Flesh Surgeon, Commander, route access, protected reward rooms | Spending every slot on side loot and missing the boss route |
| Recovery Temple | Reward Room, Sealed Vault, reachable T2 rooms | Forcing a perfect T3 plan after the layout is already compromised |
무엇이 보상 방인가
사원 보상은 직접 보상을 주는 방과 전체 런 가치를 올리는 방 수정에서 나옵니다. Reward Room은 가장 직접적인 예입니다. Smithy는 상자 희귀도, Alchemy Lab은 몬스터 아이템 희귀도, Corruption Chamber는 희귀 몬스터 가치, Synthflesh Lab은 경험치 루트를 강화합니다.
0.5.0이 중요한 이유는 공식 패치 노트에서 Architect 이후 Reward Rooms가 개선되고 종류가 늘었다고 밝혔기 때문입니다. 따라서 이 방이 직접 보상인지, 지원인지 구분해야 합니다. 직접 보상은 접근성이 필요하고, 지원은 이미 달릴 방을 강화할 때만 자리를 차지할 가치가 있습니다.
빠른 규칙
목표에 맞고 연결된 T2 보상 방은 최종 경로를 돕지 않는 고립된 T3 방보다 나은 경우가 많습니다.
목표별 보상 우선순위
모든 방을 하나의 티어표로 비교하지 마세요. XP에 좋은 방이 커런시에 좋지는 않을 수 있고, 타락 체인은 주변 사원이 위험을 감당할 때만 강합니다.
| 목표 | 좋은 방 | 피할 실수 |
|---|---|---|
| Currency and trade value | Smithy, Alchemy Lab, Reward Room, Spymaster, Thaumaturge | Chasing a specialist room that cannot be reached or upgraded |
| XP and leveling | Synthflesh Lab, Garrison, Workshop, Generator | Ignoring monster flow while saving only chest rooms |
| Corruption value | Corruption Chamber, Sacrificial Chamber, Thaumaturge | Mixing corruption rooms into a layout with no support chain |
| Boss or Architect push | Flesh Surgeon, Commander, route access, protected reward rooms | Spending every slot on side loot and missing the boss route |
| Recovery Temple | Reward Room, Sealed Vault, reachable T2 rooms | Forcing a perfect T3 plan after the layout is already compromised |
지원 방이 보상 방보다 가치 있을 때
지원 방은 뚜렷한 상자가 없어 과소평가되기 쉽습니다. Spymaster, Workshop, Thaumaturge, Generator, Garrison, Commander는 핵심 방을 강화한다면 무작위 보상보다 강할 수 있습니다.
Generator는 여러 업그레이드의 기반이지만 단독 보상은 아닙니다. Spymaster와 Thaumaturge는 관련 방 계열이 있을 때 높게 평가됩니다. Workshop은 Generator, Synthflesh, Flesh Surgeon, Transcendent Barracks, Alchemy Lab이 있을 때 빛납니다.
- Check whether the support room affects at least two important rooms.
- Confirm the supported rooms are reachable from the entrance path.
- Prefer one strong support family over three unrelated support pieces.
- Do not protect support if the payout room itself is exposed.
흔한 보상 계획 실수
실망스러운 사원은 입장 전에 이미 실패합니다. 방은 좋아 보여도 경로, 업그레이드 계열, 전체 계획과의 연결이 없으면 보상이 되지 않습니다.
| Mistake | Why it hurts | Fix |
|---|---|---|
| Taking every Reward Room | Side rooms consume path and protection budget | Connect the best payout and ignore weak side branches |
| Building currency and XP at once | Support rooms pull in different directions | Choose one main goal and one backup reward |
| Ignoring destabilisation risk | Valuable rooms can disappear after the run or boss step | Keep the important chain compact and reachable |
| Overvaluing Tier 3 alone | Tier does not matter if the room is disconnected | Treat reachability as part of reward value |
입장 전 실전 흐름
콘솔에 매력적인 방이 나와 빠르게 결정해야 할 때 이 흐름을 쓰세요. 보상 계획을 읽기 쉽게 만들고 좋은 방이 나쁜 사원에 묻히는 결과를 줄입니다.
- Name the payout: currency, XP, corruption, boss, or recovery.
- Pick one direct reward room or one support family as the anchor.
- Use the planner to verify pathing and Generator coverage before committing.
- Upgrade only the rooms that improve the anchor goal.
- Before entering, check whether any high-value room is unreachable or exposed.
Open the Temple planner
Test whether the reward chain is reachable before spending rooms.
Read the room connection cheat sheet
Check which support family the reward room belongs to.
Compare best Temple layouts
Use preset goals when you do not want to build from scratch.
Review medallion slots
Decide which saved medallions support the next reward plan.
자주 묻는 질문
Sources and further reading
These sources support the patch and room-reward notes used in this guide.
- Path of Exile 2 Content Update 0.5.0 patch notes - Official source for Reward Room, medallion, room upgrade, and Temple rule changes.
- PoE2DB: Atziri's Temple - Reference for current Temple terminology and patch-note mirrored mechanics.
- Mobalytics Vaal Temple overview - Practical overview of Temple Console, room cards, medallions, grid planning, and room rewards.
- Read the room connection cheat sheet - Internal reference for support families, Generator coverage, and room connection checks.
About the author
Elena Marlowe
Elena Marlowe writes Temple strategy content for PoE2 Temple Planner with a focus on practical room priorities, patch-aware mechanics, and readable decision frameworks.