PoE2-Tempel Belohnungen: Welche Räume lohnen sich wirklich?
Der stärkste Belohnungsplan bedeutet nicht, jede glänzende Option mitzunehmen. Wähle ein Ziel, halte wertvolle Räume erreichbar und nutze Support nur, wenn er dieses Ziel verstärkt.
Geschrieben von
Elena Marlowe
ARPG editor and systems writer at PoE2 Temple Planner
Elena writes practical Temple planning articles focused on room-chain clarity, reward priority, and patch-aware routing.
Redaktioneller Standard
GSC shows broad Atziri Temple and planner intent already ranking on protected homepage and guide URLs, while Similarweb surfaces low-difficulty Temple queries with reward and room-choice overlap. This page targets reward-priority decisions instead of duplicating the planner, full guide, layouts, medallions, or loot-filter pages.
Auf dieser Seite
Chance und Suchintention
GSC shows broad Atziri Temple and planner intent already ranking on protected homepage and guide URLs, while Similarweb surfaces low-difficulty Temple queries with reward and room-choice overlap. This page targets reward-priority decisions instead of duplicating the planner, full guide, layouts, medallions, or loot-filter pages.
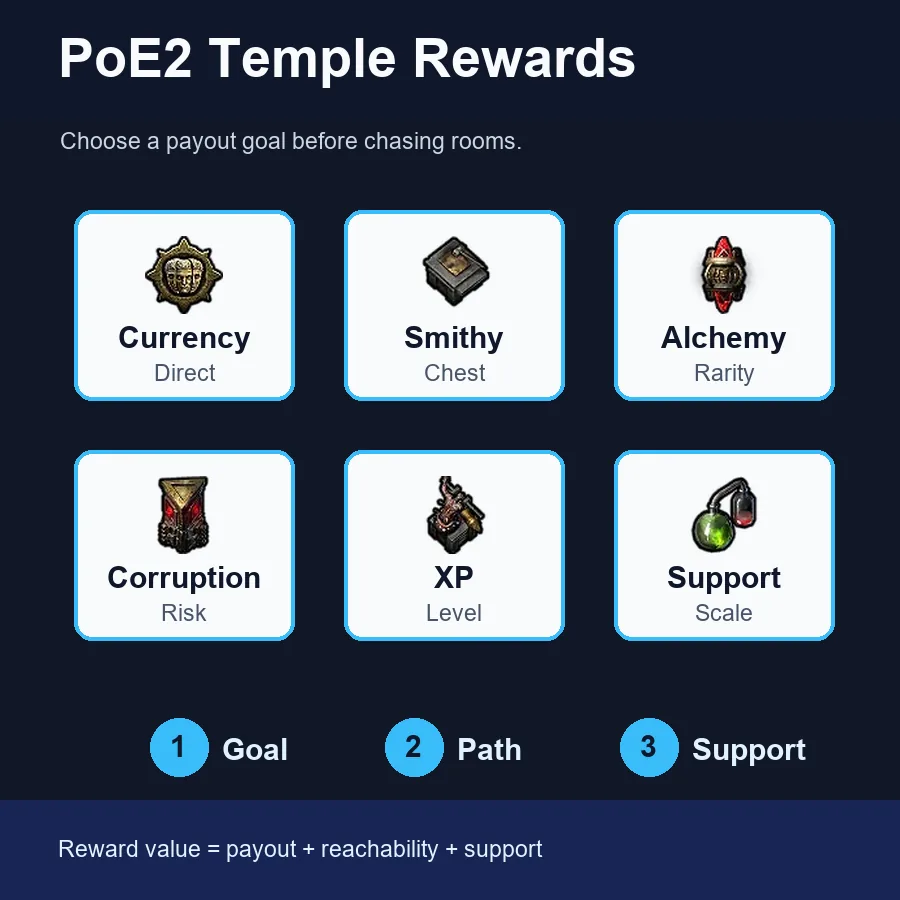
Schnellpriorität: Wähle Rewards nach Ziel, nicht nach Seltenheit
Wenn du einen PoE2-Tempel für Belohnungen planst, beginne mit dem gewünschten Ertrag. Currency und Handelswert bevorzugen meist Smithy, Alchemy Lab, Reward Room, Spymaster, Thaumaturge und erreichbare Truhenwege. XP-Routen brauchen Synthflesh Lab, Garrison, Workshop und Dichte. Korruption oder Boss-Fokus benötigen eine engere, besser geschützte Kette.
| Ziel | Beste Räume | Falle |
|---|---|---|
| Currency and trade value | Smithy, Alchemy Lab, Reward Room, Spymaster, Thaumaturge | Chasing a specialist room that cannot be reached or upgraded |
| XP and leveling | Synthflesh Lab, Garrison, Workshop, Generator | Ignoring monster flow while saving only chest rooms |
| Corruption value | Corruption Chamber, Sacrificial Chamber, Thaumaturge | Mixing corruption rooms into a layout with no support chain |
| Boss or Architect push | Flesh Surgeon, Commander, route access, protected reward rooms | Spending every slot on side loot and missing the boss route |
| Recovery Temple | Reward Room, Sealed Vault, reachable T2 rooms | Forcing a perfect T3 plan after the layout is already compromised |
Was als Belohnungsraum zählt
Praktisch entstehen Tempelbelohnungen aus direkten Reward Rooms und aus Modifikatoren, die den ganzen Lauf wertvoller machen. Reward Room ist der klare Direktfall. Smithy verbessert Truhen, Alchemy Lab Monsterdrops, Corruption Chamber seltene Monster, und Synthflesh Lab macht aus dem Lauf eine XP-Route.
0.5.0 ist wichtig, weil die offiziellen Patchnotes verbesserte und vielfältigere Reward Rooms nach dem Architect nennen. Deshalb musst du trennen: zahlt der Raum direkt oder ist er Support? Direkte Räume brauchen Zugriff; Support braucht Platz nur, wenn er vorhandene Zielräume verstärkt.
Schnellregel
Ein verbundener T2-Reward, der zum Ziel passt, schlägt oft einen isolierten T3-Raum ohne sinnvolle Endroute.
Prioritäten nach Tempelziel
Vergleiche Räume nicht in einer einzigen Tierliste. Ein starker XP-Raum kann für Currency schwach sein, und Korruption lohnt nur mit passender Umgebung.
| Ziel | Beste Räume | Falle |
|---|---|---|
| Currency and trade value | Smithy, Alchemy Lab, Reward Room, Spymaster, Thaumaturge | Chasing a specialist room that cannot be reached or upgraded |
| XP and leveling | Synthflesh Lab, Garrison, Workshop, Generator | Ignoring monster flow while saving only chest rooms |
| Corruption value | Corruption Chamber, Sacrificial Chamber, Thaumaturge | Mixing corruption rooms into a layout with no support chain |
| Boss or Architect push | Flesh Surgeon, Commander, route access, protected reward rooms | Spending every slot on side loot and missing the boss route |
| Recovery Temple | Reward Room, Sealed Vault, reachable T2 rooms | Forcing a perfect T3 plan after the layout is already compromised |
Wann Support mehr wert ist als Reward
Support-Räume wirken unscheinbar. Spymaster, Workshop, Thaumaturge, Generator, Garrison und Commander können besser sein als ein zufälliger Reward, wenn sie die Kernräume verstärken.
Generator ermöglicht Upgrades, zahlt aber nicht allein. Spymaster und Thaumaturge sind stark mit passenden Familien. Workshop glänzt mit Generator, Synthflesh, Flesh Surgeon, Transcendent Barracks oder Alchemy Lab.
- Check whether the support room affects at least two important rooms.
- Confirm the supported rooms are reachable from the entrance path.
- Prefer one strong support family over three unrelated support pieces.
- Do not protect support if the payout room itself is exposed.
Häufige Fehler bei Rewards
Enttäuschende Tempel scheitern meist vor dem Eintritt: Der Raum sah wertvoll aus, hatte aber keinen Weg, keine Upgrade-Familie oder keinen Platz im Plan.
| Mistake | Why it hurts | Fix |
|---|---|---|
| Taking every Reward Room | Side rooms consume path and protection budget | Connect the best payout and ignore weak side branches |
| Building currency and XP at once | Support rooms pull in different directions | Choose one main goal and one backup reward |
| Ignoring destabilisation risk | Valuable rooms can disappear after the run or boss step | Keep the important chain compact and reachable |
| Overvaluing Tier 3 alone | Tier does not matter if the room is disconnected | Treat reachability as part of reward value |
Praktischer Ablauf vor dem Eintritt
Nutze diesen Ablauf, wenn die Konsole verlockende Räume anbietet. Er hält den Reward-Plan lesbar und verhindert gute Räume in einem schlechten Tempel.
- Name the payout: currency, XP, corruption, boss, or recovery.
- Pick one direct reward room or one support family as the anchor.
- Use the planner to verify pathing and Generator coverage before committing.
- Upgrade only the rooms that improve the anchor goal.
- Before entering, check whether any high-value room is unreachable or exposed.
Open the Temple planner
Test whether the reward chain is reachable before spending rooms.
Read the room connection cheat sheet
Check which support family the reward room belongs to.
Compare best Temple layouts
Use preset goals when you do not want to build from scratch.
Review medallion slots
Decide which saved medallions support the next reward plan.
Häufige Fragen
Sources and further reading
These sources support the patch and room-reward notes used in this guide.
- Path of Exile 2 Content Update 0.5.0 patch notes - Official source for Reward Room, medallion, room upgrade, and Temple rule changes.
- PoE2DB: Atziri's Temple - Reference for current Temple terminology and patch-note mirrored mechanics.
- Mobalytics Vaal Temple overview - Practical overview of Temple Console, room cards, medallions, grid planning, and room rewards.
- Read the room connection cheat sheet - Internal reference for support families, Generator coverage, and room connection checks.
About the author
Elena Marlowe
Elena Marlowe writes Temple strategy content for PoE2 Temple Planner with a focus on practical room priorities, patch-aware mechanics, and readable decision frameworks.
Plan the reward before you spend the room
Open the planner to test whether the reward chain is reachable, then compare the cheat sheet if the support family is unclear.