PoE2 Temple Rooms Ranked: Best Picks by Goal
A practical ranking for choosing currency, XP, boss, or beginner-safe rooms when the offers do not match a perfect showcase layout.
About the editorial team
PoE2 Temple Planner Editorial Team
Editorial team
The PoE2 Temple Planner editorial team prepares practical Temple guides using linked game-data references, official patch notes when relevant, and clearly identified community sources.
Editorial scope
This page ranks room choices by use case. It is editorial guidance, not a promise of currency or experience returns; room effects and balance can change with updates.
On this page
How to use this ranking
Start with the goal table, then check the actual room offer and route in the planner. The ranking describes a priority order, while the connection and Tier rules decide whether that priority is reachable in your current Temple.
PoE2 temple rooms ranked at a glance
There is no single best room for every Temple. A good ranking starts with the result you want, then removes rooms that are unreachable, unsupported, or too risky for the build clearing them.
| Goal | First priority | Second priority | When to stop chasing it |
|---|---|---|---|
| Currency and crafting | A reachable value room | A support or scaling room | The route becomes longer than the extra reward |
| XP and monster density | Density on the main path | Generator coverage | The build cannot clear the added density safely |
| Boss or unique rewards | A protected route to the boss | Restricted-room support | The boss route costs the rest of the Temple value |
| First or fragile character | Short, connected rooms | A broad fallback room | A specialist chain forces risky detours |
| Messy or late layout | The best coherent cluster | One easy upgrade | Two choices in a row do not support the same plan |
Best PoE2 temple currency rooms and crafting value
For currency, the best PoE2 temple rooms are the ones that form a reachable value chain, not the rooms with the most impressive single line of text. Broad rooms such as Alchemy Lab, Smithy, Workshop, or a well-supported vault option are easier to justify when the layout is still changing. They give you a useful result even when the final Tier is not perfect.
A currency ranking should therefore ask three questions. Can the room be reached without breaking the entrance route? Does a nearby room upgrade or power it? Will the reward still matter if the Temple closes at Tier 2? If the answer is yes to all three, the room belongs above a narrow specialist room that only pays off at the end of a long chain.
A practical currency order
- Secure the shortest path through the currency rooms you can actually reach.
- Keep one broad room that remains useful if the next upgrade is poor.
- Add a support room only when it improves more than one valuable neighbor.
- Choose a narrow corruption or conversion route after its prerequisites are visible.
- Stop when the next upgrade lengthens the route more than it improves the reward.
| Room situation | Rank | Reason |
|---|---|---|
| Reachable value room with one support neighbor | High | Useful at an imperfect Tier and easy to protect |
| Isolated specialist room | Medium or low | The ceiling is high but the route can fail |
| Room that breaks the entrance path | Low | Travel and lost connections erase the theoretical value |
| Broad fallback beside the active route | High when the layout is messy | It keeps the run coherent instead of forcing a reset |
Use the dedicated Corruption Chamber versus Alchemy Lab comparison when those two choices are the actual decision. This ranking page stays at the higher level: it tells you whether a broad currency route or a specialist route fits the whole Temple.
Best PoE2 temple XP rooms and monster density
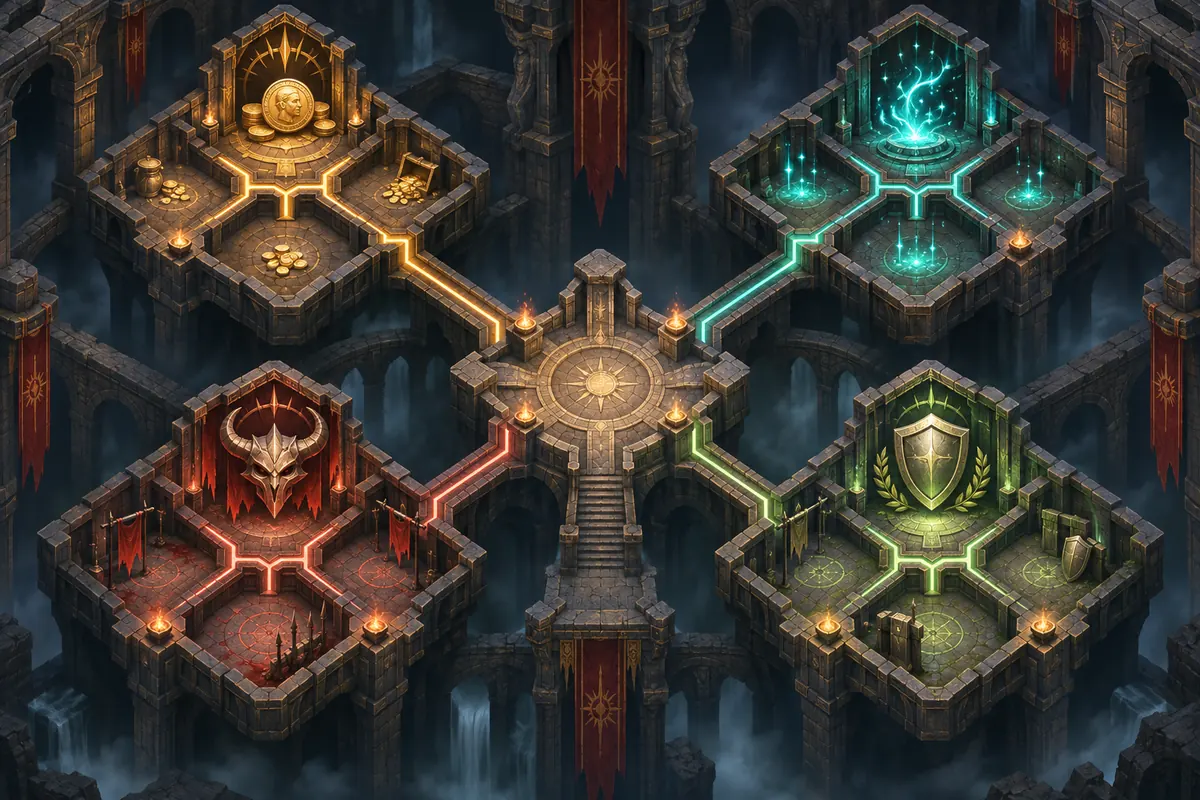
XP rooms are valuable only when your character can clear their added density at a steady pace. A room that adds monsters but forces repeated deaths, long backtracking, or defensive detours is not an XP win. For that reason, the best PoE2 temple XP rooms usually sit on a simple route and have support from Generator, Garrison, Golem Works, Synthflesh Lab, or another room that fits the intended density plan.
Rank density after access and build safety. If a density room is one step away from the entrance and your character already handles its modifiers, it can be a high priority. If the same room is behind a fragile chain, place a reachable broad room first and return to the specialist choice only when the route is stable.
XP ranking rules
- Prefer connected density over a higher Tier that sits off the practical route.
- Count clear speed and deaths as part of the XP calculation.
- Use Generator when its coverage reaches several rooms you already want.
- Keep an exit or fallback route when the build is still being tested.
- Do not add monster density merely because the room is available.
Build-safety rule
A lower-density room that you clear cleanly can beat a higher-density room that turns every pack into a recovery stop. Rank the result you can repeat, not the ceiling shown in the room text.
Best PoE2 temple boss rooms and unique-reward routes
Boss-focused PoE2 temple rooms need a different ranking from currency or XP rooms. The first question is not which room has the best reward; it is whether the route to Atziri or another restricted objective stays connected while you build the rest of the Temple. A boss route that consumes every flexible connection can lower the total value of the run even when the final fight is attractive.
Put protected access first, then add the room support that directly improves that route. Royal Access Chamber, restricted rooms, and specialist reward rooms should be ranked by how much they reinforce the boss plan. If a room only looks good because it is rare, but it pulls the route away from the entrance or leaves no fallback reward, keep it below a reachable support room.
| Question | High-ranking answer | Red flag |
|---|---|---|
| Can the boss route be reached? | A short, connected path is visible | The route depends on several unconfirmed conversions |
| Does the room support the objective? | Its effect improves the boss or restricted-room plan | It is valuable only in a different farming goal |
| What happens if the fight is skipped? | A nearby fallback room still has value | The entire Temple becomes a dead-end boss bet |
| Can the build clear it? | Mechanics are covered by the current defenses | The route is technically complete but not runnable |
This article does not replace the Atziri boss guide. Use the boss guide for mechanics, defenses, and fight preparation after the room ranking says the route is worth protecting.
Best PoE2 temple rooms for a first or fragile character
For a first Temple or a fragile character, the best PoE2 temple rooms are usually the rooms that reduce decision risk. A shorter route, a broad reward room, and one clear upgrade path are more useful than a complicated Tier 3 plan that requires perfect placement. The beginner ranking is about repeatability: you should understand why the room is there and what you will do if the next offer is different.
Start with the entrance and mark the rooms you can reach without crossing an untested connection. Keep one room that still pays off when the layout is imperfect. Delay a specialist chain until you can name its prerequisite rooms and its safe exit. If a room forces a long detour, rank it below a simpler room even when the displayed reward is lower.
- Choose connected rooms before chasing the highest listed Tier.
- Keep a broad reward room as a fallback for imperfect offers.
- Avoid adding a second goal until the first route is stable.
- Check the planner after each meaningful connection, not only at the end.
- Treat a clean clear as part of the reward, especially while learning the mechanic.
The full Temple room cheat sheet is useful here because it answers the fact question, such as what upgrades or converts a room. This page answers the decision question, such as whether that upgrade is worth protecting in your current route.
How Tier, adjacency, and connections change the ranking
Tier is a multiplier on a coherent plan, not a substitute for one. A Tier 3 room on the main path can be an excellent target. A Tier 3 room at the end of a fragile chain may be a worse decision than a Tier 2 room that keeps three other rooms reachable. Rank the connection first, then rank the upgrade.
Adjacency also changes what a room means. Some rooms upgrade from neighboring rooms, some convert into a different room, and Generator coverage can raise the value of a whole cluster. The room name alone is not enough to rank it. Check the neighboring squares, the conversion direction, the required support, and the route cost before spending a limited choice.
| Check | What to record | Ranking effect |
|---|---|---|
| Adjacency | Which neighbor upgrades or converts it | Raises a room when the neighbor is already on route |
| Generator coverage | How many desired rooms it powers | Raises a cluster, not an isolated trophy |
| Tier ceiling | Whether Tier 3 or Tier 4 is realistic | Prevents ranking an unreachable ceiling above a useful floor |
| Route cost | Extra turns, dead ends, and lost access | Lowers rooms that demand too much travel |
| Fallback | What remains useful if the next offer fails | Raises flexible rooms in uncertain layouts |
Use the room-connections cheat sheet for exact upgrade and conversion details. Use the planner to test the route after those facts are known. Combining the two prevents a common mistake: treating a correct room fact as an automatic recommendation for every Temple.
A repeatable ranking workflow for your own layout
You can turn this ranking into a quick routine after every meaningful room offer. First write one goal: currency, XP, boss, or safe completion. Then mark the rooms that already support it. The remaining choices are judged by route, support, Tier potential, and fallback value in that order.
- Name the goal in one sentence before comparing room names.
- Open the planner and trace the shortest route from the entrance through the rooms that matter.
- Check the cheat sheet for adjacency, conversion, and Generator conditions.
- Rank the next offer as high, medium, or low based on route and support, not rarity alone.
- Commit to the highest coherent choice and keep one fallback room.
- Recheck the route before the final Temple entry and stop if a new choice breaks the original goal.
The workflow is deliberately conservative. It helps you avoid wasting connections while still leaving room to pivot. A ranking is a decision aid, not a rigid tier list: when a patch changes room effects or your build changes, the goal and route should move the ranking with them.
Open the PoE2 Temple Planner
Trace the actual entrance route and compare the room cluster before committing.
Read the Temple room cheat sheet
Look up upgrade, conversion, and room effect facts.
Compare Corruption Chamber and Alchemy Lab
Use the focused comparison when the currency choice is between those two rooms.
Prepare for Atziri
Move from room ranking to boss mechanics only after the route is worth protecting.
Frequently asked questions
Sources and further reading
These references were used to compare the current room taxonomy, connection language, and common Temple planning explanations. The ranking itself is editorial guidance.
- Path of Exile 2: Temple Guide - A current guide structure covering rooms, restricted rooms, connections, upgrades, destabilization, and the Architect.
- PoE2 Vaal Temple Cheat Sheet - ExileDB - Room names, upgrade and conversion relationships, and effect terminology checked against game data.
- Vaal Temple Basics - Maxroll - A beginner-oriented explanation of the console, basic and restricted rooms, medallions, and layout decisions.
About the editorial team
PoE2 Temple Planner Editorial Team
The PoE2 Temple Planner editorial team maintains this ranking and reviews the room terminology against the sources linked above. Send corrections to [email protected].
Rank the rooms, then test the route
Use the goal ranking to choose a direction, then open the planner and verify that the rooms you want are connected, supported, and safe for the build you are taking into the Temple.