Guia de recompensas do Templo PoE2: quais salas valem perseguir?
O melhor plano de recompensa não é aceitar toda sala chamativa. Defina um objetivo, mantenha as salas valiosas alcançáveis e use suporte apenas quando ele melhora esse objetivo.
Escrito por
Elena Marlowe
ARPG editor and systems writer at PoE2 Temple Planner
Elena writes practical Temple planning articles focused on room-chain clarity, reward priority, and patch-aware routing.
Padrão editorial
GSC shows broad Atziri Temple and planner intent already ranking on protected homepage and guide URLs, while Similarweb surfaces low-difficulty Temple queries with reward and room-choice overlap. This page targets reward-priority decisions instead of duplicating the planner, full guide, layouts, medallions, or loot-filter pages.
Nesta página
Oportunidade e intenção
GSC shows broad Atziri Temple and planner intent already ranking on protected homepage and guide URLs, while Similarweb surfaces low-difficulty Temple queries with reward and room-choice overlap. This page targets reward-priority decisions instead of duplicating the planner, full guide, layouts, medallions, or loot-filter pages.
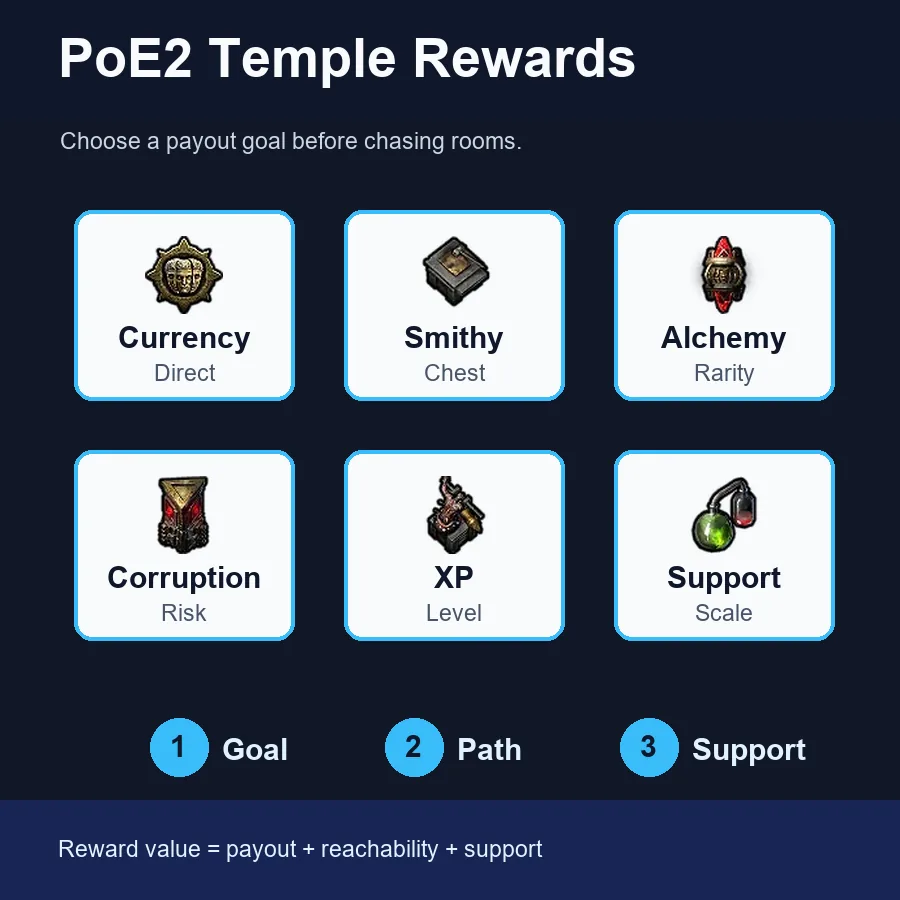
Prioridade rápida: escolha recompensas pelo objetivo
Ao planejar um Templo PoE2 para recompensas, comece pelo pagamento que você quer. Moeda e valor de troca costumam preferir Smithy, Alchemy Lab, Reward Room, Spymaster, Thaumaturge e caminhos de baús alcançáveis. XP depende mais de Synthflesh Lab, Garrison, Workshop e densidade. Corrupção ou chefe exigem uma cadeia mais estreita e protegida.
| Objetivo | Melhores salas | Armadilha |
|---|---|---|
| Currency and trade value | Smithy, Alchemy Lab, Reward Room, Spymaster, Thaumaturge | Chasing a specialist room that cannot be reached or upgraded |
| XP and leveling | Synthflesh Lab, Garrison, Workshop, Generator | Ignoring monster flow while saving only chest rooms |
| Corruption value | Corruption Chamber, Sacrificial Chamber, Thaumaturge | Mixing corruption rooms into a layout with no support chain |
| Boss or Architect push | Flesh Surgeon, Commander, route access, protected reward rooms | Spending every slot on side loot and missing the boss route |
| Recovery Temple | Reward Room, Sealed Vault, reachable T2 rooms | Forcing a perfect T3 plan after the layout is already compromised |
O que conta como sala de recompensa
Na prática, recompensas do Templo vêm de salas explícitas e de modificadores que tornam a run inteira mais valiosa. Reward Room é o exemplo direto. Smithy melhora baús, Alchemy Lab melhora drops de monstros, Corruption Chamber muda o valor de raros, e Synthflesh Lab transforma a run em rota de experiência.
A 0.5.0 importa porque as notas oficiais dizem que as Reward Rooms concedidas após o Architect foram melhoradas e receberam mais variedades. Então separe pagamento direto de suporte. Salas diretas precisam de acesso; suporte merece espaço só quando multiplica salas que você já pretende usar.
Regra rápida
Uma recompensa T2 conectada e alinhada ao objetivo geralmente vence uma T3 isolada que parece forte mas não apoia a rota final.
Prioridades por objetivo
Não compare todas as salas em uma tier list única. Uma sala ótima para XP pode ser média para moeda, e corrupção só é forte quando o entorno justifica o risco.
| Objetivo | Melhores salas | Armadilha |
|---|---|---|
| Currency and trade value | Smithy, Alchemy Lab, Reward Room, Spymaster, Thaumaturge | Chasing a specialist room that cannot be reached or upgraded |
| XP and leveling | Synthflesh Lab, Garrison, Workshop, Generator | Ignoring monster flow while saving only chest rooms |
| Corruption value | Corruption Chamber, Sacrificial Chamber, Thaumaturge | Mixing corruption rooms into a layout with no support chain |
| Boss or Architect push | Flesh Surgeon, Commander, route access, protected reward rooms | Spending every slot on side loot and missing the boss route |
| Recovery Temple | Reward Room, Sealed Vault, reachable T2 rooms | Forcing a perfect T3 plan after the layout is already compromised |
Quando suporte vale mais que recompensa
Salas de suporte são fáceis de subestimar. Spymaster, Workshop, Thaumaturge, Generator, Garrison e Commander podem superar uma recompensa aleatória quando fortalecem as salas centrais.
Generator habilita upgrades, mas não paga sozinho. Spymaster e Thaumaturge valem quando suas famílias existem. Workshop brilha com Generator, Synthflesh, Flesh Surgeon, Transcendent Barracks ou Alchemy Lab.
- Check whether the support room affects at least two important rooms.
- Confirm the supported rooms are reachable from the entrance path.
- Prefer one strong support family over three unrelated support pieces.
- Do not protect support if the payout room itself is exposed.
Erros comuns
Templos decepcionantes normalmente falham antes da entrada. A sala parecia valiosa, mas não tinha caminho, família de upgrade ou razão para combinar com o plano.
| Mistake | Why it hurts | Fix |
|---|---|---|
| Taking every Reward Room | Side rooms consume path and protection budget | Connect the best payout and ignore weak side branches |
| Building currency and XP at once | Support rooms pull in different directions | Choose one main goal and one backup reward |
| Ignoring destabilisation risk | Valuable rooms can disappear after the run or boss step | Keep the important chain compact and reachable |
| Overvaluing Tier 3 alone | Tier does not matter if the room is disconnected | Treat reachability as part of reward value |
Fluxo prático antes de entrar
Use este fluxo quando o console oferece opções tentadoras e você precisa decidir rápido. Ele mantém o plano claro e evita boas salas em um Templo ruim.
- Name the payout: currency, XP, corruption, boss, or recovery.
- Pick one direct reward room or one support family as the anchor.
- Use the planner to verify pathing and Generator coverage before committing.
- Upgrade only the rooms that improve the anchor goal.
- Before entering, check whether any high-value room is unreachable or exposed.
Open the Temple planner
Test whether the reward chain is reachable before spending rooms.
Read the room connection cheat sheet
Check which support family the reward room belongs to.
Compare best Temple layouts
Use preset goals when you do not want to build from scratch.
Review medallion slots
Decide which saved medallions support the next reward plan.
Perguntas frequentes
Sources and further reading
These sources support the patch and room-reward notes used in this guide.
- Path of Exile 2 Content Update 0.5.0 patch notes - Official source for Reward Room, medallion, room upgrade, and Temple rule changes.
- PoE2DB: Atziri's Temple - Reference for current Temple terminology and patch-note mirrored mechanics.
- Mobalytics Vaal Temple overview - Practical overview of Temple Console, room cards, medallions, grid planning, and room rewards.
- Read the room connection cheat sheet - Internal reference for support families, Generator coverage, and room connection checks.
About the author
Elena Marlowe
Elena Marlowe writes Temple strategy content for PoE2 Temple Planner with a focus on practical room priorities, patch-aware mechanics, and readable decision frameworks.
Plan the reward before you spend the room
Open the planner to test whether the reward chain is reachable, then compare the cheat sheet if the support family is unclear.