PoE2 寺院報酬ガイド:本当に追う価値がある部屋はどれ?
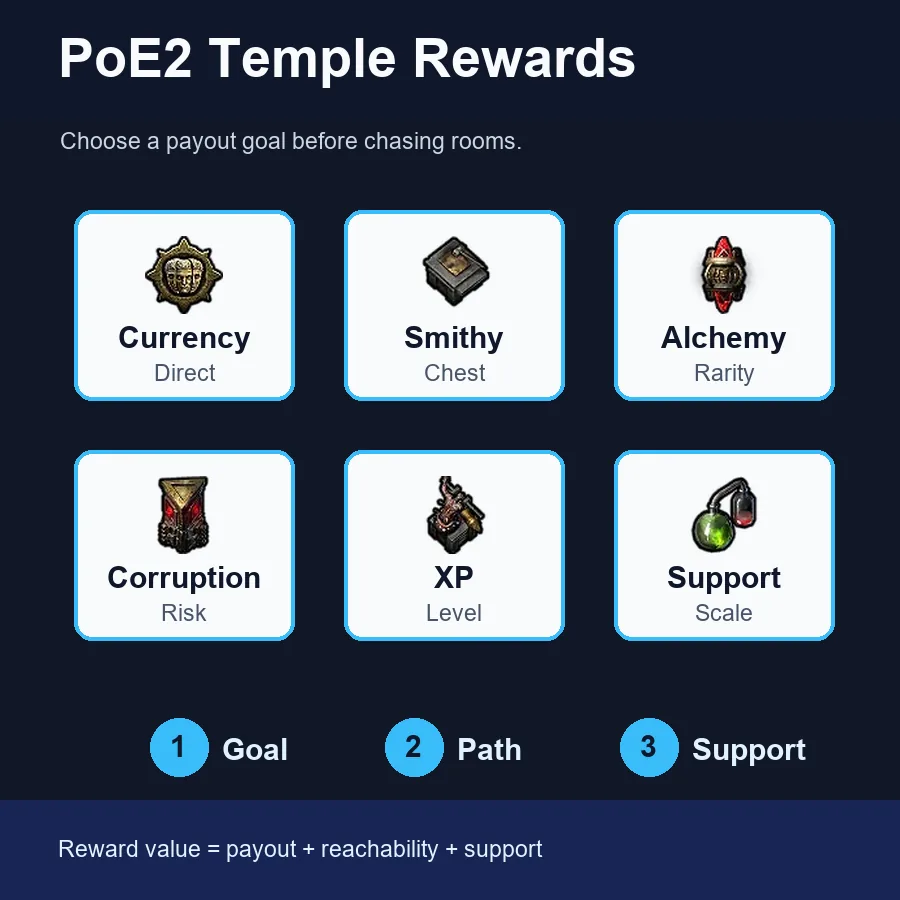
強い寺院報酬プランは、目立つ部屋を全部取ることではありません。目的を一つ決め、価値のある部屋を到達可能にし、その目的を伸ばす支援部屋だけを使います。
執筆
Elena Marlowe
ARPG editor and systems writer at PoE2 Temple Planner
Elena writes practical Temple planning articles focused on room-chain clarity, reward priority, and patch-aware routing.
編集基準
GSC shows broad Atziri Temple and planner intent already ranking on protected homepage and guide URLs, while Similarweb surfaces low-difficulty Temple queries with reward and room-choice overlap. This page targets reward-priority decisions instead of duplicating the planner, full guide, layouts, medallions, or loot-filter pages.
このページ
機会と検索意図
GSC shows broad Atziri Temple and planner intent already ranking on protected homepage and guide URLs, while Similarweb surfaces low-difficulty Temple queries with reward and room-choice overlap. This page targets reward-priority decisions instead of duplicating the planner, full guide, layouts, medallions, or loot-filter pages.
優先度早見:レア度ではなく目的で報酬を選ぶ
PoE2 の寺院を報酬目的で組むなら、まず欲しい成果を決めます。通貨や取引価値なら Smithy、Alchemy Lab、Reward Room、Spymaster、Thaumaturge、到達できる宝箱導線が有力です。XP なら Synthflesh Lab、Garrison、Workshop、十分な敵密度が重要です。汚染やボス狙いは、より狭く保護されたチェーンが必要です。
| 目的 | 優先部屋 | 避ける罠 |
|---|---|---|
| Currency and trade value | Smithy, Alchemy Lab, Reward Room, Spymaster, Thaumaturge | Chasing a specialist room that cannot be reached or upgraded |
| XP and leveling | Synthflesh Lab, Garrison, Workshop, Generator | Ignoring monster flow while saving only chest rooms |
| Corruption value | Corruption Chamber, Sacrificial Chamber, Thaumaturge | Mixing corruption rooms into a layout with no support chain |
| Boss or Architect push | Flesh Surgeon, Commander, route access, protected reward rooms | Spending every slot on side loot and missing the boss route |
| Recovery Temple | Reward Room, Sealed Vault, reachable T2 rooms | Forcing a perfect T3 plan after the layout is already compromised |
報酬部屋とは何か
寺院報酬は、直接報酬を出す部屋と、ラン全体の価値を上げる修正の二つから生まれます。Reward Room は最も分かりやすい直接報酬です。Smithy は宝箱、Alchemy Lab はモンスタードロップ、Corruption Chamber はレアモンスター価値、Synthflesh Lab は経験値ルートを強化します。
0.5.0 では公式パッチノートで Architect 後の Reward Rooms が改善され、種類も増えたと説明されています。だから直接支払う部屋か、支援部屋かを分けて考える必要があります。直接報酬は到達性、支援部屋は既存の目的部屋を伸ばせるかが基準です。
簡単ルール
目的に合う到達可能な T2 報酬部屋は、終盤ルートを支えない孤立 T3 より強いことが多いです。
目的別の報酬優先度
全部屋を一つのティア表で比べないでください。XP で強い部屋が通貨で強いとは限らず、汚染チェーンは周囲の支援があって初めて価値を出します。
| 目的 | 優先部屋 | 避ける罠 |
|---|---|---|
| Currency and trade value | Smithy, Alchemy Lab, Reward Room, Spymaster, Thaumaturge | Chasing a specialist room that cannot be reached or upgraded |
| XP and leveling | Synthflesh Lab, Garrison, Workshop, Generator | Ignoring monster flow while saving only chest rooms |
| Corruption value | Corruption Chamber, Sacrificial Chamber, Thaumaturge | Mixing corruption rooms into a layout with no support chain |
| Boss or Architect push | Flesh Surgeon, Commander, route access, protected reward rooms | Spending every slot on side loot and missing the boss route |
| Recovery Temple | Reward Room, Sealed Vault, reachable T2 rooms | Forcing a perfect T3 plan after the layout is already compromised |
支援部屋が報酬部屋より価値を持つ時
支援部屋は目立つ宝箱がないため軽視されがちです。Spymaster、Workshop、Thaumaturge、Generator、Garrison、Commander は、計画の中心部屋を伸ばすならランダムな報酬より価値があります。
Generator は複数の強化ルートの基礎ですが、それ単体は報酬ではありません。Spymaster と Thaumaturge は対象ファミリーがある時に強く、Workshop は Generator、Synthflesh、Flesh Surgeon、Transcendent Barracks、Alchemy Lab と並ぶ時に活きます。
- Check whether the support room affects at least two important rooms.
- Confirm the supported rooms are reachable from the entrance path.
- Prefer one strong support family over three unrelated support pieces.
- Do not protect support if the payout room itself is exposed.
よくある報酬計画の失敗
期待外れの寺院は入場前に失敗しています。部屋は強そうでも、道がない、強化ファミリーがない、全体計画と噛み合わないなら報酬になりません。
| Mistake | Why it hurts | Fix |
|---|---|---|
| Taking every Reward Room | Side rooms consume path and protection budget | Connect the best payout and ignore weak side branches |
| Building currency and XP at once | Support rooms pull in different directions | Choose one main goal and one backup reward |
| Ignoring destabilisation risk | Valuable rooms can disappear after the run or boss step | Keep the important chain compact and reachable |
| Overvaluing Tier 3 alone | Tier does not matter if the room is disconnected | Treat reachability as part of reward value |
入場前の実用手順
コンソールに魅力的な部屋が並び、素早く決めたい時はこの手順を使います。報酬計画を読みやすく保ち、良い部屋なのに悪い寺院という結果を避けられます。
- Name the payout: currency, XP, corruption, boss, or recovery.
- Pick one direct reward room or one support family as the anchor.
- Use the planner to verify pathing and Generator coverage before committing.
- Upgrade only the rooms that improve the anchor goal.
- Before entering, check whether any high-value room is unreachable or exposed.
Open the Temple planner
Test whether the reward chain is reachable before spending rooms.
Read the room connection cheat sheet
Check which support family the reward room belongs to.
Compare best Temple layouts
Use preset goals when you do not want to build from scratch.
Review medallion slots
Decide which saved medallions support the next reward plan.
よくある質問
Sources and further reading
These sources support the patch and room-reward notes used in this guide.
- Path of Exile 2 Content Update 0.5.0 patch notes - Official source for Reward Room, medallion, room upgrade, and Temple rule changes.
- PoE2DB: Atziri's Temple - Reference for current Temple terminology and patch-note mirrored mechanics.
- Mobalytics Vaal Temple overview - Practical overview of Temple Console, room cards, medallions, grid planning, and room rewards.
- Read the room connection cheat sheet - Internal reference for support families, Generator coverage, and room connection checks.
About the author
Elena Marlowe
Elena Marlowe writes Temple strategy content for PoE2 Temple Planner with a focus on practical room priorities, patch-aware mechanics, and readable decision frameworks.